Do-It-Yourself Hydrophobic Insulation Kit for Mercedes Sprinter Vans
Regular price
$683.08
Sale
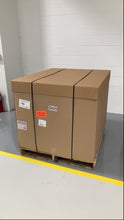
Note: Contact us for shipping instructions. Kits are best shipped to a commercial address.
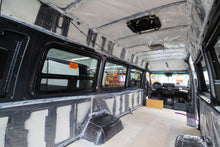
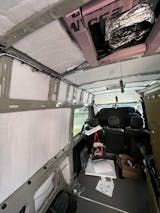
This Do-It-Yourself kit will allow you to thermally insulate your Mercedes Sprinter high roof cargo van with the same 30mm thick, high-density hydrophobic insulation that Advanced RV installs in our own builds (video link to our insulation process below).
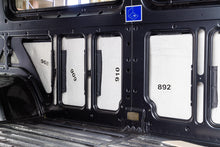
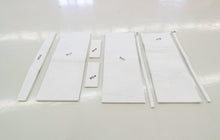
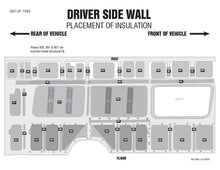
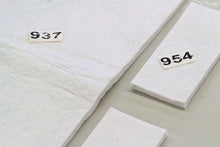
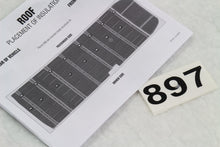
We've designed the kits for the easiest installation possible. Each piece of insulation is cut with a CNC machine to match the exact dimensions of your van's recessed panels and structural ribbing. Each piece is numbered to match the number on the van layout map.
To install the insulation, apply to spray adhesive to an individually-numbered piece, match that number to the corresponding location shown in the visual instruction guide, and stick the insulation in place. Pairs well with our sound dampening kit.
Once it's installed, the hydrophobic insulation repels water and provides approximately R-7 insulation value, so that you can expect to heat and cool your living space more efficiently and for longer periods of time. The material is also flame-resistant and sound absorbent.
The insulation kit pairs well with our Do-It-Yourself Sound Damping Kits, which should be placed directly on the Sprinter's sheet metal before installing the thermal insulation kit.
The thermal insulation kit is available for all three Sprinter lengths (144", 170" Standard, 170" Extended). A complete kit includes the visual instruction guide and CNC-cut insulation pieces for wall recesses, ceiling recesses, window panels, the front cab overhead area, and hollow structural ribbing. This kit will also work with High Roof Sprinters.
Specs:
- Thickness: ~25mm
- Hydrophobic, thermally-insulated polyester fiber blend
- R-Value: R6
- Material Properties
- Acoustic absorption
- Flame resistant
- Mildew + Bacteria Resistant
- Odorless
- Chemical Free
- Hypoallergenic
- High Flexibility
- Recyclable

FAQ:
Q: Do I need a vapor barrier? If so, what kind?
A: Advanced RV places a 4 mil Poly Sheet vapor barrier on the outside of the installed insulation to inhibit water vapor from movement and condensation.
Q: What is included in this kit?
A: Insulation pieces for wall recesses, ceiling recesses, window panel recesses, front overhead cab, and inside hollow structural ribbing.
Q: Do you have any floor insulation kits?
A: No
Q: Will this kit work with a passenger van or a low roof van?
A: This kit will work but you will have extra pieces leftover.
Q: How do I install this DIY Hydrophobic Insulation kit?
A: To Install, apply spray adhesive to each individually-numbered piece, match that number to the corresponding location shown in the visual inspection guide, and stick the insulation in place. Most spray adhesive will work but we recommend 3M Hi-Strength, Fast-Dry, industrial-strength spray adhesive.
Q: Do you have kits for the Transit/ProMaster?
A: We do not have kits for the Transit/ProMaster.
All the pieces were individually labeled, took inventory of the kit prior to starting and installation was a breeze. Installation took roughly 4 hours because my van has the factory headliner, which added approximately an hour to the process. Get the low VOC contact cement and use a lot of ventilation


